Solar power is a sustainable way to power your home, and it’s possible to set up systems in different degrees that you could use to save some money and do good for the environment.
It seems difficult to pull off at first thought, though. If you’re like most of us, you don’t have a solid understanding of solar power or the mechanisms needed to use it in your home.
It’s not as tough as you might think. We’re going to give you the basics of a solar panel setup so you can start benefiting in your own life.
Table of Contents
The Basics of Solar Panel Setup
We’re going to go over the basic requirements needed in any solar panel set up. There are only a few elements of the setup, and when you break them down, you’ll find that each component is relatively easy to manage.
We’re going to go over home solar paneling. Portable generators are a different category of solar power, and if you’re looking to learn more about portable, check out https://poweredportablesolar.com/.
The first piece to think about is the solar paneling you’ll use.
Your Solar Array
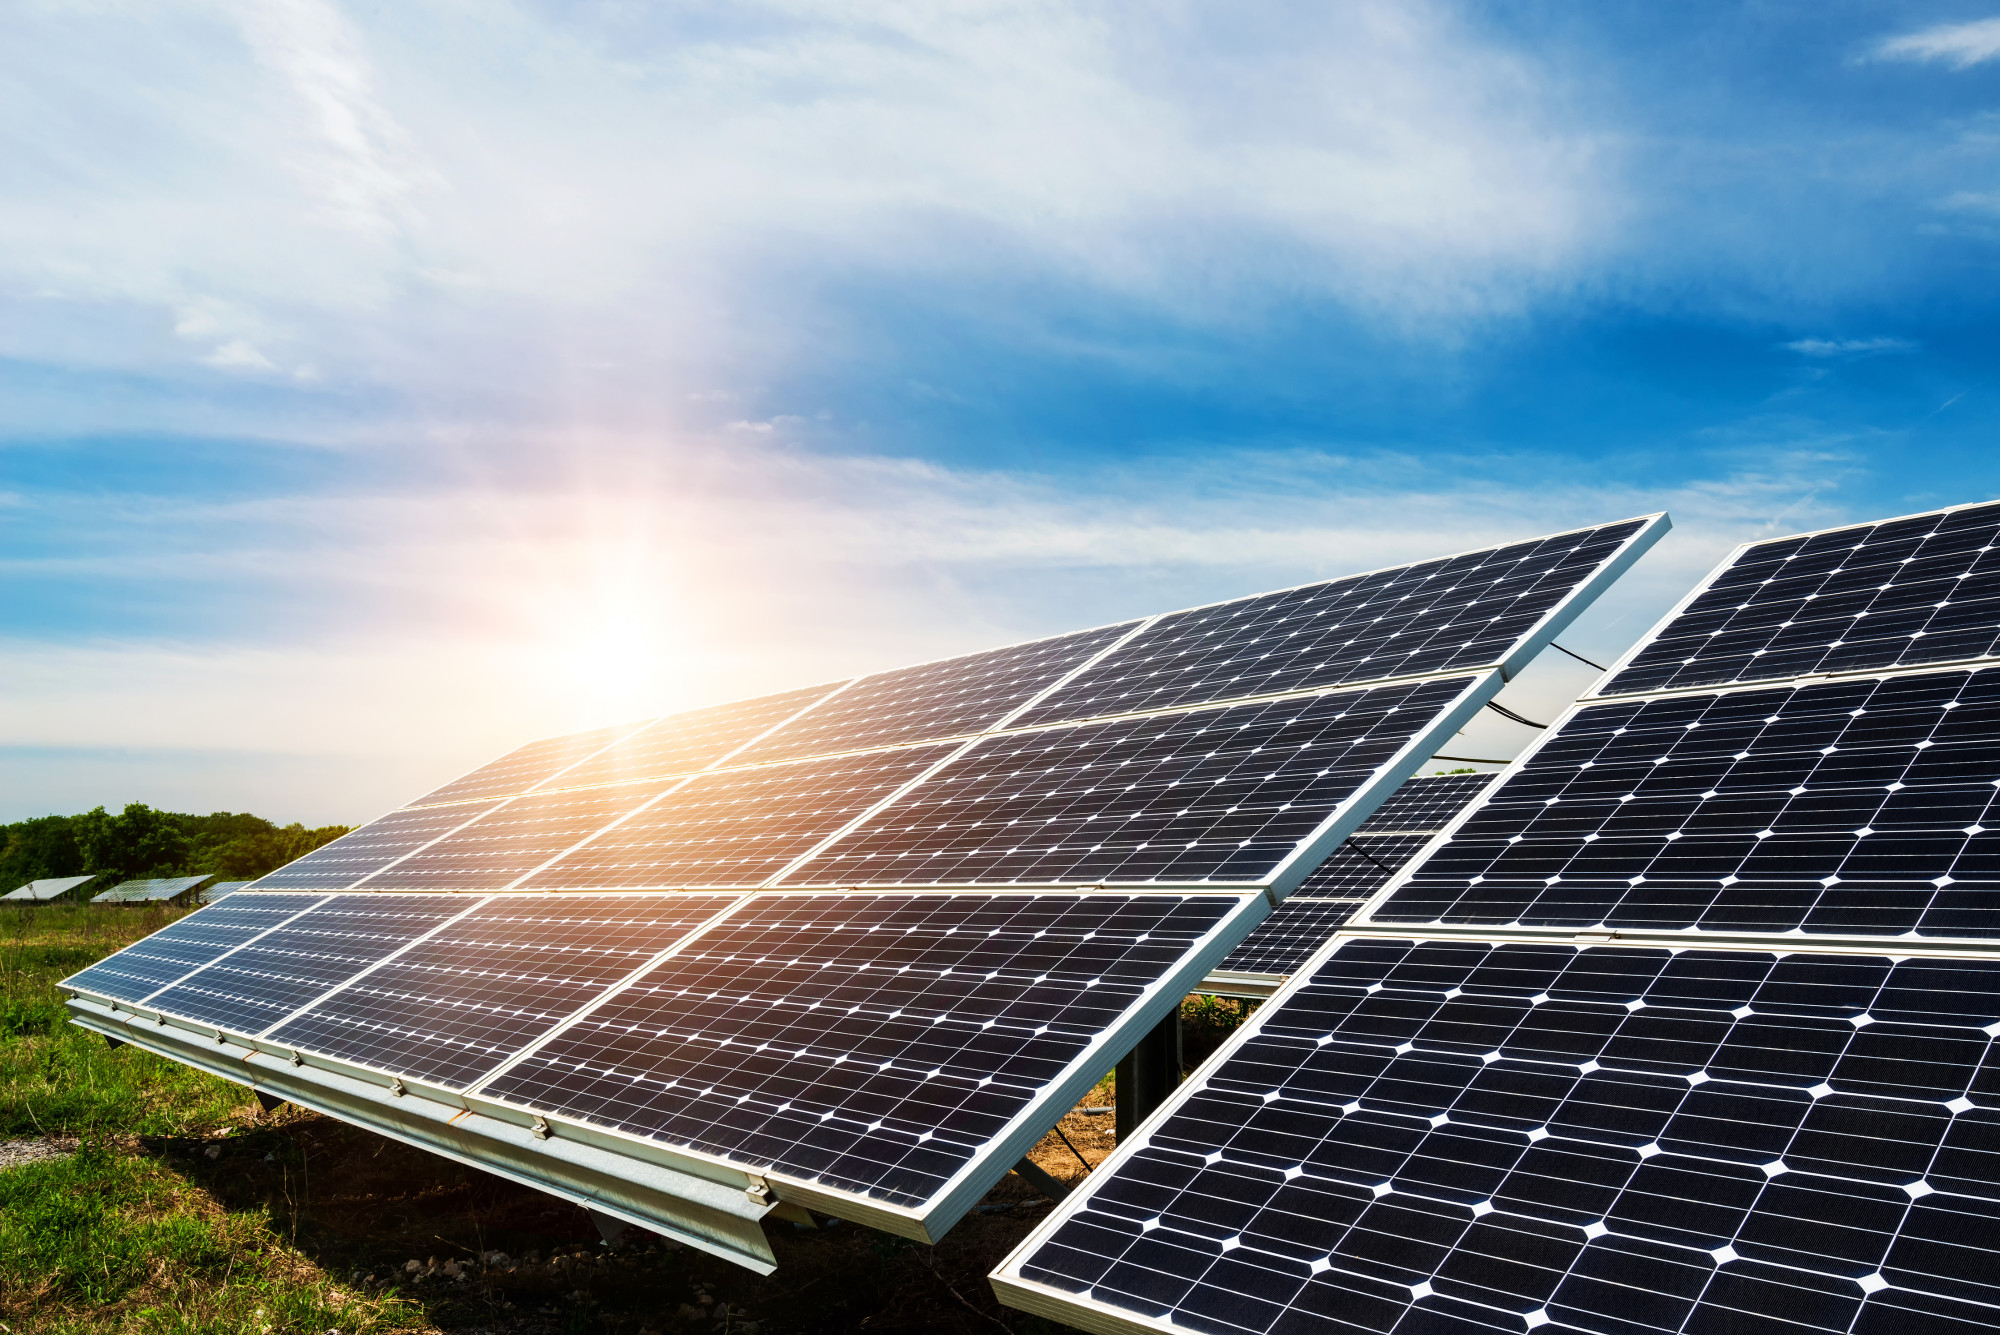
This is the piece of the equation that probably first comes to mind. The paneling is the element of your setup that will be placed in a sunny area (typically one side of the roof) in order to receive sunlight to convert to power.
There are three common options when selecting your solar array; thin-film, monocrystalline, and polycrystalline. Thin-film is the option that produces the least energy, but is cheapest, most environmentally friendly due to lack of silicon, and are the lightest weight.
Monocrystalline is the next option and is likely to be the most cost-effective in terms of the energy that it produces. In reality, there is little difference between monocrystalline and polycrystalline, so the decision you make should be based on the quality of the actual product and reliability of the company that sells it.
Don’t lose too much sleep over this piece of the puzzle, just try and make sure that you’re getting a product with good reviews and good energy output.
Your Mounting Setup
The next thing to consider is where and how you’re going to set up your panels. This one is a little harder to pin down because each roof is different and you may want to place your panels on the ground somewhere. If you’re looking to install solar panels on an RV or campervan, you might want to look at a complete 12v solar panel kit that includes everything you need.”
In general, though, roof-mounts are going to be fixed. This means that they’ll line the length of your roof and stay facing one direction throughout the day. In those cases, you should make sure that you choose the end of your home that receives the most sunlight for the longest periods of the year.
Ground setups are going to have a lot of fixed setups as well. You also have the option of installing trackers, though. Trackers are mechanisms that let your panels follow the direction of the sun as it goes by each day.
This is going to optimize your reception of sunlight.
Inverters
The next piece of the equation is buying the mechanism that can change the energy from the sun into a form that can be useful for your home. Inverters are devices that convert the DC current from the sun into an AC current that you can translate for your home.
There are a few different kinds of inverters. You’ve got the option of a string optimizer, power optimizer, and microinverter. String optimizers are the simplest option and are a cost-effective choice if your paneling system isn’t too complicated.
Power optimizers and microinverters are more sophisticated and should be used if you have advanced paneling. Microinverters will be found immediately next to the paneling site. The other two inverter options will be found at the ground level.
There will be some city regulations to consider when you install and choose inverters. Mainly, you’ll be required to place the inverter either on the inside or outside of your home, depending on your town.
Choosing a Battery
Batteries are considered a sort of backup if your solar power doesn’t consistently do the trick. These are still hooked up to the solar system, but simply accumulate a reserve of energy in the case of a power outage.
They’re not required by any means. At the same time, it might be useful to have one if you’re planning to power your entire house. These can be connected between the paneling and the inverter or between the inverter and your power grid.
Disconnect Switches
Most states will also require that you have a disconnect switch. These can either be located on the front end between your panels and inverter or on the back end between the inverter and your power grid.
This is a safety precaution in the case of someone needing to do repairs or make adjustments to power. It’s also nice to know that you can turn your power off in the case of an emergency.
Connecting to Your Home
The final step is connecting your new solar power setup to your home’s electrical system. If you were going to speak with professionals at any point, this would be the time. At the very least, it would be nice to know that you had set up the system right.
To connect to your home, you need to connect your inverter into the fuse box of your home. Make sure that it is connected to the “AC” fuse box. This is the location that sends power outward to your outlets and sockets, etc.
Additionally, connect your inverter to your home’s AC generator. This will supplement the energy needed in case your solar setup falls short at any point. If you have the battery connected too, you aren’t likely to have any issue with energy supply.
Need More Tricks and Tips?
According to Neeeco’s Mass Save Home Energy Audit, Solar panel setup is just one of the many things you can do on your own to improve your home and life. Hopefully, the guide above helped you break down the myth that a normal person can’t set up solar power.
If you’re interested in learning more about what you can do to your home and life, visit our site.

